
Affiliate disclosure: some links are affiliate links — as an Amazon Associate we earn from qualifying purchases, at no extra cost to you. Full disclosure.
A thermocouple is a small but critical safety part on many propane heaters. When it wears out, the symptoms can look confusing if you don’t know what it actually does. Here’s the full picture.
What a Thermocouple Actually Does
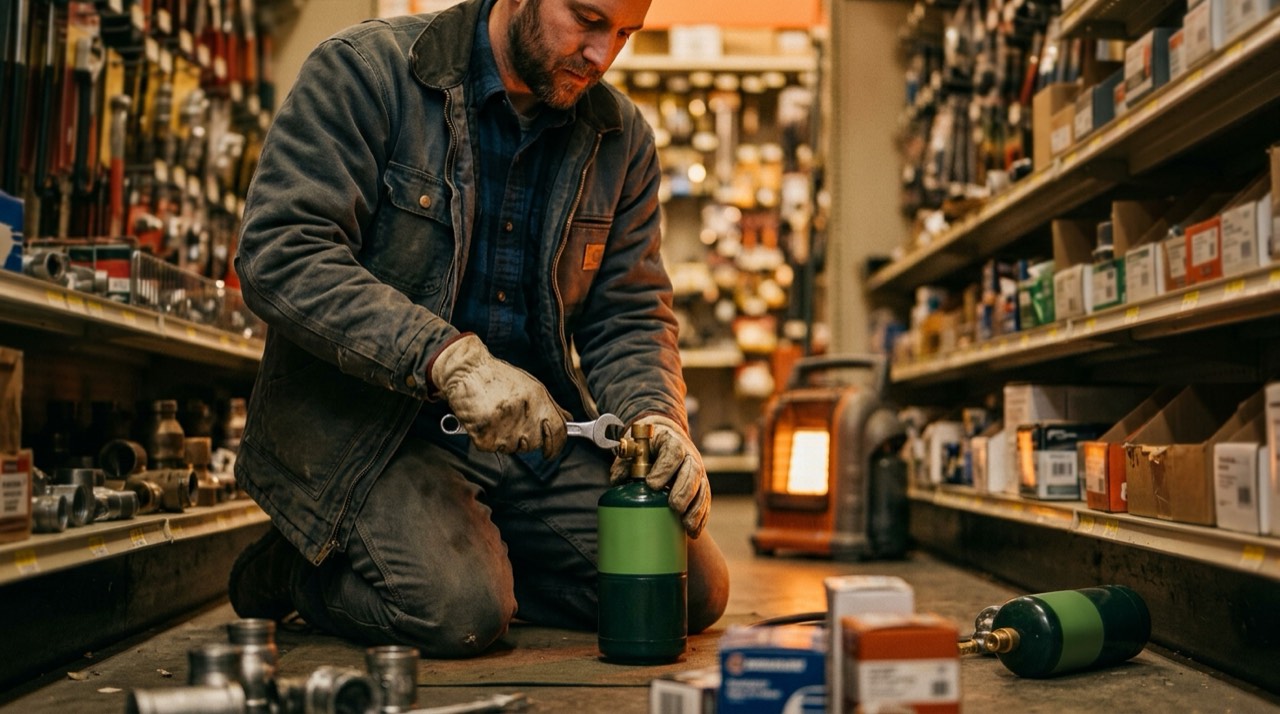
A thermocouple generates a small electrical current when heated by the pilot flame. That current holds a safety valve open, allowing gas to flow to the main burner. If the pilot goes out, the thermocouple cools, the current stops, and the safety valve closes automatically, cutting gas flow before it can build up unburned. This is a deliberately simple, purely mechanical safety mechanism, with no electronics or battery involved.
Signs a Thermocouple Is Failing
- The pilot won’t stay lit after you release the igniter or pilot button — the classic sign of a worn thermocouple.
- The pilot takes longer than usual to "catch" and hold, even though it eventually stays lit.
- The main burner won’t fire even with a lit pilot — the thermocouple may not be generating enough current to hold the safety valve open.
Why the Pilot-Won’t-Stay-Lit Problem Happens
A worn thermocouple generates less current than a new one, even while otherwise functioning. Eventually it can’t generate enough to hold the safety valve open once you release the igniter, so the pilot appears to light, then goes out again as soon as you let go. This is different from a fuel supply or ignition problem, which typically prevents the pilot from lighting at all, rather than lighting briefly and then failing.
Millivolt Output: What a Healthy Thermocouple Reads
A new, properly seated thermocouple typically produces roughly 25 to 30 millivolts in an open-circuit test, measured with a multimeter across its leads while the pilot heats the tip. A reading meaningfully below that, commonly under 20 millivolts, points to a worn thermocouple even if the pilot still lights and holds most of the time. This test requires a basic multimeter and isn’t strictly necessary for a simple symptom-based diagnosis, but it’s a useful way to confirm a suspected thermocouple issue before ordering a replacement part, especially if the symptoms are borderline rather than a clear, obvious failure.
Step-by-Step Replacement Walkthrough
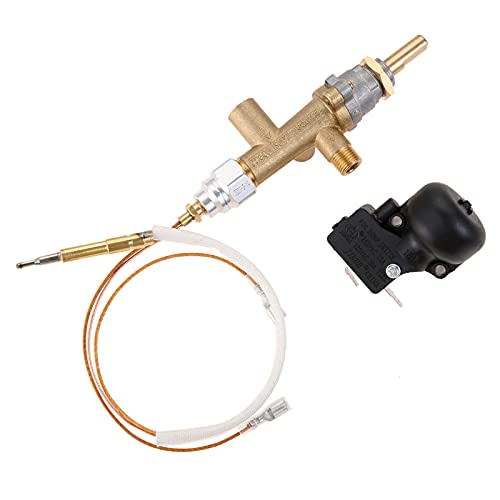
Shut off the gas supply completely before starting. Disconnect the thermocouple’s connector from the gas valve, typically a small nut that unscrews by hand or with light pliers. Remove the old thermocouple from its bracket near the pilot burner, noting the exact depth and angle the tip sat at. Install the new thermocouple in the same position, seating the tip fully in the pilot flame’s path. Reconnect the lead to the gas valve, hand-tight plus a light quarter-turn with pliers, avoiding overtightening, which can damage the connection. A thermocouple is typically a simple, inexpensive part to replace, often bundled with a control valve and safety assembly like the option above rather than sold as a completely standalone part on many heater models.
Testing After Replacement
After installing a new thermocouple, light the pilot and hold the igniter or pilot button slightly longer than usual on the first attempt, giving the new part time to heat up and generate enough current. Release slowly and confirm the pilot stays lit on its own. Run a soapy-water leak test on any connection you touched during the swap before considering the repair complete.
Is This a DIY Job?
Replacing a thermocouple is a common DIY repair for anyone comfortable with basic tools and following a model-specific guide. It doesn’t typically require special equipment. If you’re not confident working with gas connections, a qualified technician can complete this repair quickly and inexpensively, and there’s no shame in choosing that route for a safety-relevant component.
How Long Do Thermocouples Last?
A thermocouple typically lasts several years of regular seasonal use before showing wear, though heavy daily use can shorten that timeline. There’s no fixed replacement schedule the way there is for a battery-powered smoke detector. Replace it when symptoms appear, not on a calendar schedule, since a functioning thermocouple doesn’t benefit from being swapped early.
Thermocouples vs. Thermopiles
Some larger vent-free heaters use a thermopile instead of a simple thermocouple. A thermopile generates more electrical current. It can power additional functions like a wall thermostat. The failure symptoms look similar, a pilot that won’t hold. But the replacement part is different and not interchangeable. Check your specific model’s manual to confirm which type your heater actually uses.
A Common Misdiagnosis
A weak or dirty pilot flame can produce symptoms that look like a failing thermocouple. The thermocouple needs direct flame contact to generate enough current. Before replacing the part, clean the pilot assembly of any dust or debris. Confirm the pilot flame burns a steady blue, covering the thermocouple tip fully. This simple check sometimes solves the problem without buying a new part at all.
Buying the Right Replacement Part
Confirm whether your heater uses a thermocouple or a thermopile before ordering, since the two aren’t interchangeable despite looking similar. Check your model’s manual or the part number on the failing component itself if it’s still legible. A part that looks close but isn’t rated for your specific model may not generate the correct current level to hold the safety valve open reliably.
Common Mistakes During Replacement
The most common mistake is overtightening the new thermocouple’s connection at the gas valve, which can damage the fitting and cause the exact pilot-won’t-hold symptom the replacement was meant to fix. A second is seating the tip at a slightly different depth or angle than the original, so it doesn’t sit fully in the pilot flame’s path and never generates enough current. A third is skipping the extended first light after installation, since a new thermocouple genuinely needs a few extra seconds of pilot contact to build up current before it can hold the safety valve open on its own.
Final Thoughts
A thermocouple is one of the cheapest, simplest safety parts on a propane heater, and also one of the most important. Don’t ignore early symptoms hoping they’ll resolve on their own. A part that costs little to replace protects against a gas valve failing to close when it should, which is exactly the scenario this tiny component exists to prevent.