
Affiliate disclosure: some links are affiliate links — as an Amazon Associate we earn from qualifying purchases, at no extra cost to you. Full disclosure.
A 100 lb or larger bulk tank runs a portable heater for far longer between refills than a 20 lb tank, but the connection setup differs slightly. Here’s what to know before connecting one.

Best for Connecting a portable heater to a 100 lb bulk tank, QCC1 to POL
- 12 ft length for distance from a bulk tank
- Built-in gauge
- QCC1-to-POL adapter included

Best for Adapting an existing QCC1 hose to an older POL bulk tank fitting
- Solid brass construction
- POL to QCC1 conversion
- No new hose needed
The Fitting Difference
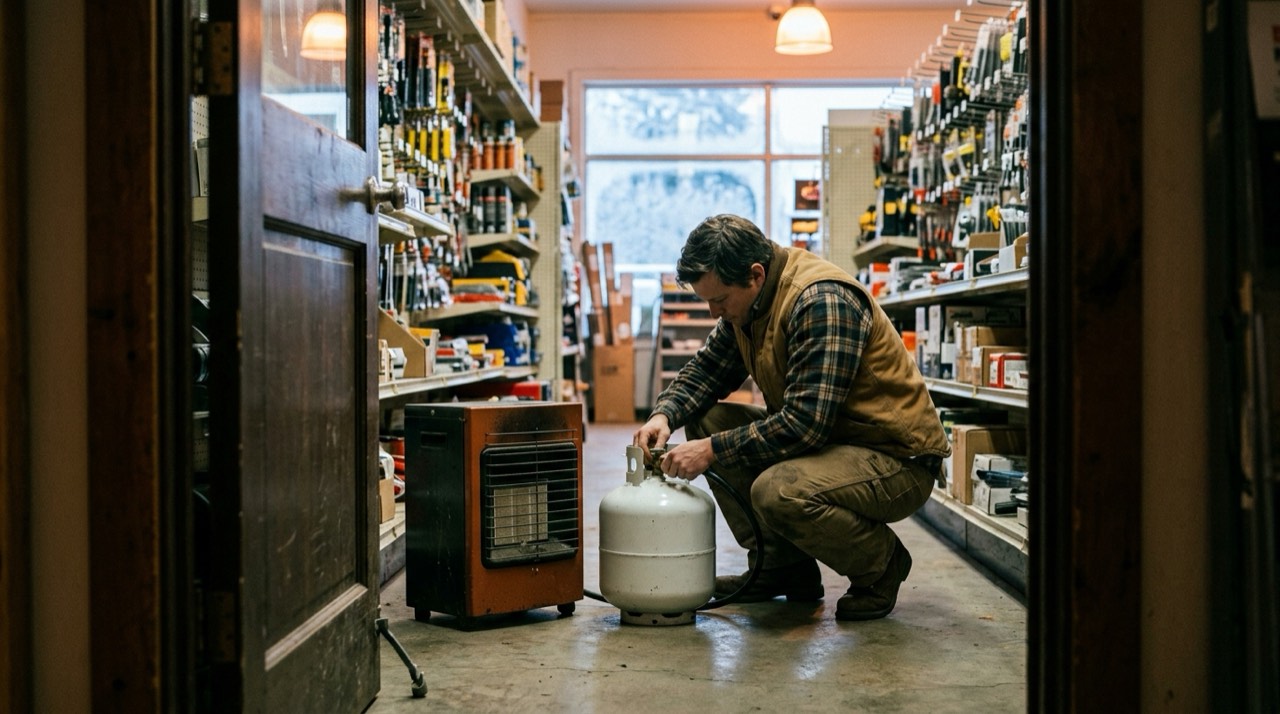
Larger bulk tanks, especially older ones, often use a POL fitting. Most 20 lb tanks use the newer QCC1 hand-tight standard instead. A hose rated for QCC1 alone won’t thread onto a POL fitting. Confirm which fitting your bulk tank has before ordering a hose. This is the single most common mismatch in this kind of setup.
Why You Need a Longer Hose
Bulk tanks sit further from the heater than a portable 20 lb tank would. Local code often requires a fixed outdoor location for the tank. A 12 ft or longer hose covers that distance. Standard portable heater kits usually ship with a much shorter hose.
Positioning Considerations
A bulk tank is usually a semi-permanent fixture. It sits outside a structure per local regulations, not moved between uses. Running a hose from a fixed bulk tank into a garage or workshop means planning the route first. Think through a wall penetration or a path under a door before buying a specific hose length.
Regulator Considerations at This Scale
A bulk tank’s regulator is often already installed as part of the original setup. This is separate from anything a portable heater’s own hose kit provides. Check whether your bulk tank already regulates pressure down to appliance level. Don’t assume your heater’s hose kit needs to handle that job too. Our regulator guide covers this in more depth.
Is This Setup Worth It?
A bulk tank connection makes the most sense for a workshop, garage, or job site using a forced-air or high-BTU heater regularly through a full season, where refill frequency on a smaller tank becomes a genuine hassle. For occasional or portable use, a standard 20 lb tank remains simpler and doesn’t require the fixed installation a bulk tank implies.
Step-by-Step: Making the Connection
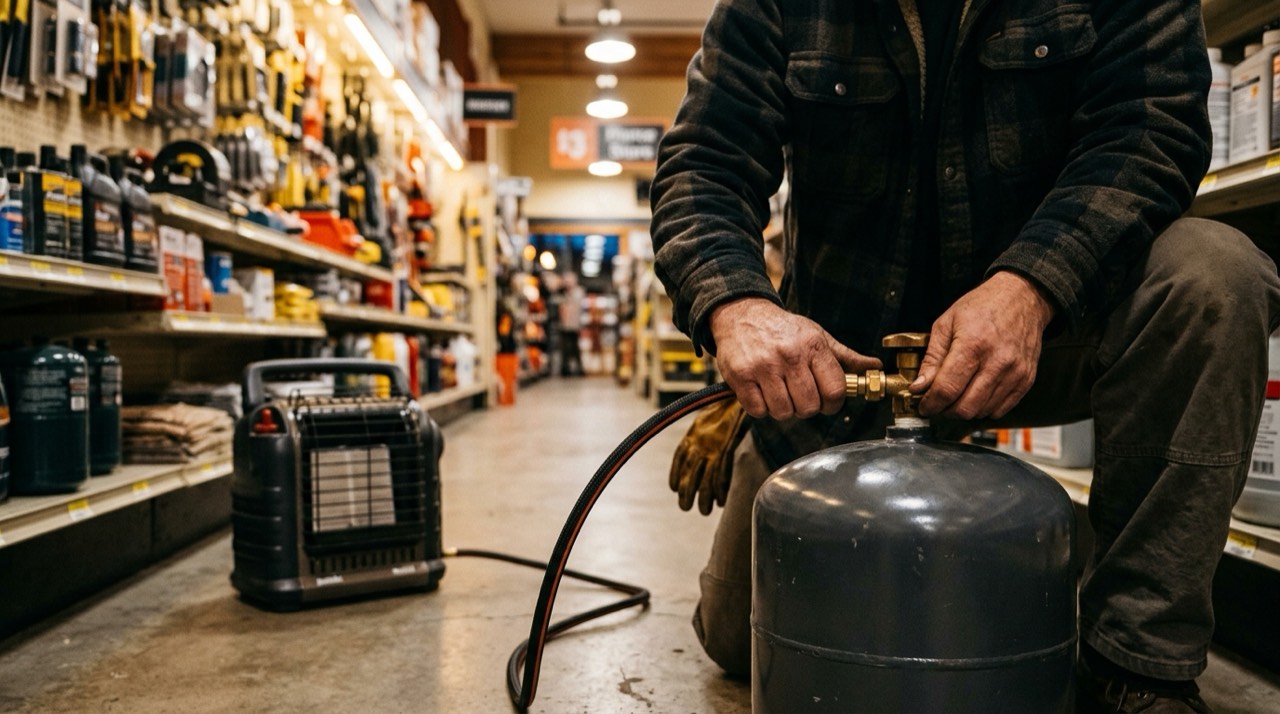
Confirm the bulk tank’s valve is fully closed before starting. Thread the hose’s tank-end fitting onto the tank — hand-tight for a QCC1 connection, or a wrench for an older POL fitting, following the fitting type you confirmed earlier. Route the hose along a planned path, avoiding sharp bends, foot traffic, or pinch points like a door threshold. Connect the heater end per your model’s manual. Before opening the tank valve fully, open it slightly first and check every connection with a soapy-water solution, watching for bubbles that indicate a leak needing a tighter seat. Only proceed to full flow and lighting the heater once every connection tests clean.
Common Mistakes With Bulk Tank Setups
The most common mistake is ordering a hose without first confirming the tank’s fitting type, resulting in a hose that arrives and simply won’t thread on. A second is underestimating the actual distance from tank to heater and ending up with a hose that’s a few feet too short once it’s routed around the obstacles in its path — measure the real route, not the straight-line distance. A third is skipping the soapy-water leak test specifically because the setup feels more permanent or professional than a simple portable-to-1lb-cylinder connection; a bulk tank’s higher fuel volume makes this check more important, not less.
Local Code Considerations
Bulk tank installation is typically subject to local fire code and permitting requirements, covering minimum distance from structures, property lines, and ignition sources. This is separate from the hose and fitting question covered above, and worth checking with your local fire authority or a licensed propane installer before finalizing a bulk tank installation, rather than treating it purely as a DIY hose-connection project.
Maintaining a Bulk Tank Connection
A bulk tank installation sees more consistent outdoor exposure than a portable tank swapped in and out seasonally. Inspect the hose and fittings each season for cracking or corrosion, and confirm the tank’s recertification status the same way you would for a smaller portable tank, since the same recertification rules apply regardless of tank size.
When to Call a Professional Instead
If your bulk tank setup involves running a line into a structure, through a wall, or alongside other gas appliances already installed, this crosses from a DIY hose-connection project into work a licensed gas fitter should handle. The stakes are higher with a bulk tank’s fuel volume than with a portable 20 lb tank, which is reason enough to bring in a professional for anything beyond a straightforward outdoor hose run to a portable heater.
Comparing Bulk Tank Costs Over a Season
A 100 lb tank costs more to fill in one visit than a 20 lb tank, but the per-gallon price is often similar or slightly better at that volume, and the real savings come from far fewer refill trips across a heavy-use season. For a job site or workshop running a forced-air heater most days through winter, that reduction in refill frequency is often the deciding factor over the raw cost-per-gallon difference.
Summary: Is a Bulk Tank Right for Your Setup?
Choose a bulk tank if you run a high-BTU heater daily through a full season and have the outdoor space and local code clearance for a fixed installation. Choose a standard 20 lb tank if your use is more occasional, or if a fixed installation doesn’t fit your property. Check local code first either way, since that requirement doesn’t change based on how the tank connects to your heater.
A Final Checklist Before You Order
- Confirm your bulk tank’s fitting type (POL or QCC1) before ordering a hose.
- Measure the actual distance from the tank to where the heater will run.
- Check whether the tank already has a regulator installed.
- Confirm local code compliance for the tank’s fixed location before finalizing the setup.
- Budget for a professional installer if the run involves a wall penetration or connects near other gas appliances.
- Keep the finished setup’s leak-check habit going every season, not just at initial install.
A Realistic Timeline for Setup
Ordering the right hose and confirming your fitting type usually takes longer than the physical connection itself, which is typically a 15 to 30 minute job once the correct parts are in hand. Budget extra time only if the installation requires a permit inspection or professional involvement for a wall penetration.